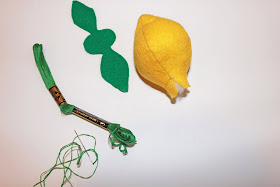
Fiber fill
Green thread and needle
Pattern (you can enlarge the picture below or download it here)
Start by arranging 2 pieces of the lemon body together. Using a sewing machine, sew down one side of the pieces you have arranged together. Make sure to leave ¼ of an inch open from the top.
It will look like this...
Continue arranging the pieces of lemon body together, sewing each new side together. Conclude by sewing the last sides together, closing the lemon {leaving a 1/4 of an inch open at the top of the lemon}.
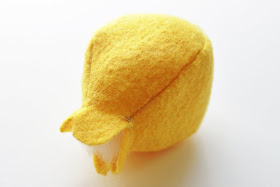
When all sides have been sewn together...
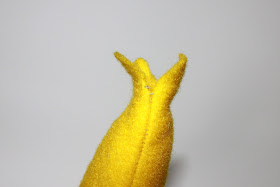
carefully pull the bottom of the lemon through 1/4 inch opening, turning your lemon right side out.
Generously stuff your lemon with fiberfill.
Grab your stem/leaves, the sewn and stuffed body of the lemon and green thread and needle.
Using the green thread, sew the top of your lemon closed. This will be covered with the stem/leaves, so the green stitches will not show and does not need to look perfect.
Tact down the stem of leaves.
Continue sewing around the entire stem, pulling the thread to give a knob shape, like you have on the bottom of your lemon.
Pull the needle up through the center of the stem.
Make a thick French knot. This provides no real purpose other than visual.
Using the same needle and thread, pull the needle back into the French knot and re-emerge the needle down the center of one of the leaves. Embroider up the center of the leaf, attaching it with each stitch to the body of the lemon.
With each new embroidery stitch, pull your thread tight. This will pull the sides of your leaves up, giving it more shape.
Repeat these steps for the remaining leaf.
Now that it's done, I give you my
you'll love these lemons.
If you enjoyed this tutorial, make sure to check out my other felt food tutorials as well.


