Showing posts with label pillow. Show all posts

Thursday, February 27, 2014

Home Sweet Home Pillows

Home Sweet Home.


Recently, I've become slightly obsessed with making houses.

Of course, my houses are not made with 2x4s and nails but rather with fabric, ribbon and buttons.


No green thumb required with these houses.  The garden is blooming with vintage button blosoms.


I think we can all agree, there is no place like home.


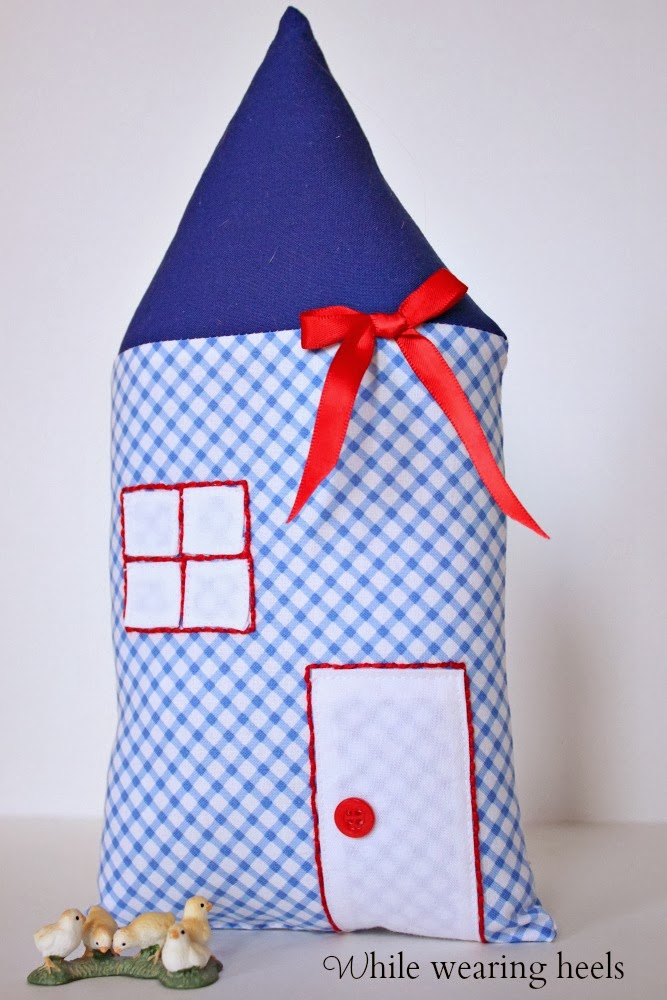
Which was the inspiration for this Wizard of Oz themed house {which is currently for sale in the While Wearing Heels Etsy Shop}.


Though I may have embraced the gray in my kitchen...this sweet little gray house has 'no home'.


*SO, to all of you who feel 'at home' here at While Wearing Heels, I'm giving you the chance to win this Gray House Pillow.


**Simply leave me a comment, here or on facebook. If you are a no-reply commenter, please leave your email address.  If you aren't sure if you are a no-reply commenter, leave your email address or contact information to be safe.  If I can't get a hold of you, you can't win.


Hoping you all continue to feel 'at home' while visiting While Wearing Heels.


*This giveaway is for the Gray house pillow with pink embroidered details.  It measures approximately 10 1/2 inches tall by 5 1/2 inches wide.  It was made, with lots of love, by me...while wearing heels. **Leave a comment here, or on facebook, for a chance to win this 'homemade' pillow.  Winner to be announced Wednesday, March 5th. 

The winner of the Gray Pillow, selected by random.org, is Erin Biggers.

Tuesday, December 17, 2013

Star Pillow Tutorial

Decorative pillows are the easiest way to change up decor.  Be it Christmas or the Fourth of July, these easy to make star pillows can be that statement piece you are looking for.


The best thing, these star pillows are SO easy to make.

First, decide on what fabric you want to use.  This will have exposed seams so try and select a fabric that doesn't easily fray.


Cut out 2 stars.  


Line your stars together, right sides facing out.  Sew up and down each star point leaving one side open.


Stuff your star generously with fiber fill.


Sew the remaining side closed either by hand or with a sewing machine.


If you want to add embellishments to your star, you can use buttons, sequin or rhinestones.   


I added 'SHINE' in sequin trim to the front of my pillow.


Display your pillows.

 
And admire.

Friday, November 22, 2013

Children's Art Pillow

School is in full swing.

First run on Bonbon Break

And the art, so lovingly created, is already stacking up.


Sure, I'll hang most of it up and at the end of the year I'll store it away in a box labeled kindergarten.

But the problem with storing it away in a box is just that...it is stored away in a box.

Out of sight, out of mind.

So, instead, I'll appreciate it.  I'll use it.  I'll decorate with it.  Sure, I could frame it but why not turn some of that art into a custom pillow.


Don't worry, if you don't sew, you can use a pre-made pillow {as long as the case is removable from the pillow}.

To get started, you and your little Picasso can pick your favorite masterpieces.  Set up a photo shoot and take some crisp clear pictures of the artwork you want to use.


Next import your photographed art into PicMonkey, a free photo editing website, and create a collage.  Have fun figuring out the design and arrangement.  If you want to add a quote, or the grade the collection of art was created, pull your newly created collage into PicMonkey's 'edit a photo' tab. 


If you decide to add a quote, or if the art work itself uses words or numbers, you will need to transpose your image.  This can also be done with PicMonkey, in the basic edits section under rotate.


Pull your image into a word document to determine the size you want.  Print a test page on copier paper to check the size.  When you have the size you want, print it on the transfer paper.


Cut your image out, leaving some excess around the edge of the image. 
 

Center the transfer paper, face down, onto the fabric source you want to adhere it to and iron it on. White fabric will work best since the transfer paper does have a transparent quality to it.

*If applying it to a pillow, make sure you remove the pillow prior to ironing.


When the paper has cooled, gently peel the backing of the transfer paper off.  The image is now permanently affixed to the fabric.


And, a custom pillow is ready to be proudly displayed.


The possibilities are endless.  Using this transfer paper technique you could add the collage to a tote bag, a tee shirt, or even a quilt.

I love the idea of creating different squares of treasured artwork, one for each year of school, and displaying them in a quilt that will certainly never be forgotten.


Picasso was right, every child is an artist so why not proudly display their creations.


Related Posts Plugin for WordPress, Blogger...