After our
Party Like Picasso party, we had to replace the red area rug in our living room. Small price to pay and what should have been a foreseeable issue, that could have been avoided, with having a bunch of 3 year olds crafting with complete freedom. In the end, it could have been a blessing in disguise because I am happy to have a new rug.
Instead of sticking with the reds, we decided to move more towards blues. This left me with several red pillows I had no use for.
I relocated the tan and black pillows {made by my mom} to our now bright white window seat and I decided to disassemble the red pillows and make new pillows myself. This is a big step because 1. I have never sewn a pillow before, though, I have seen them made countless times because 2. I typically have my mom to make them for me.
With my seam ripper in hand (a tool I use often), I took the pillow apart. That's my disassembled pillow. Just below it, fabric for my new pillows. Just beneath that, my new rug!
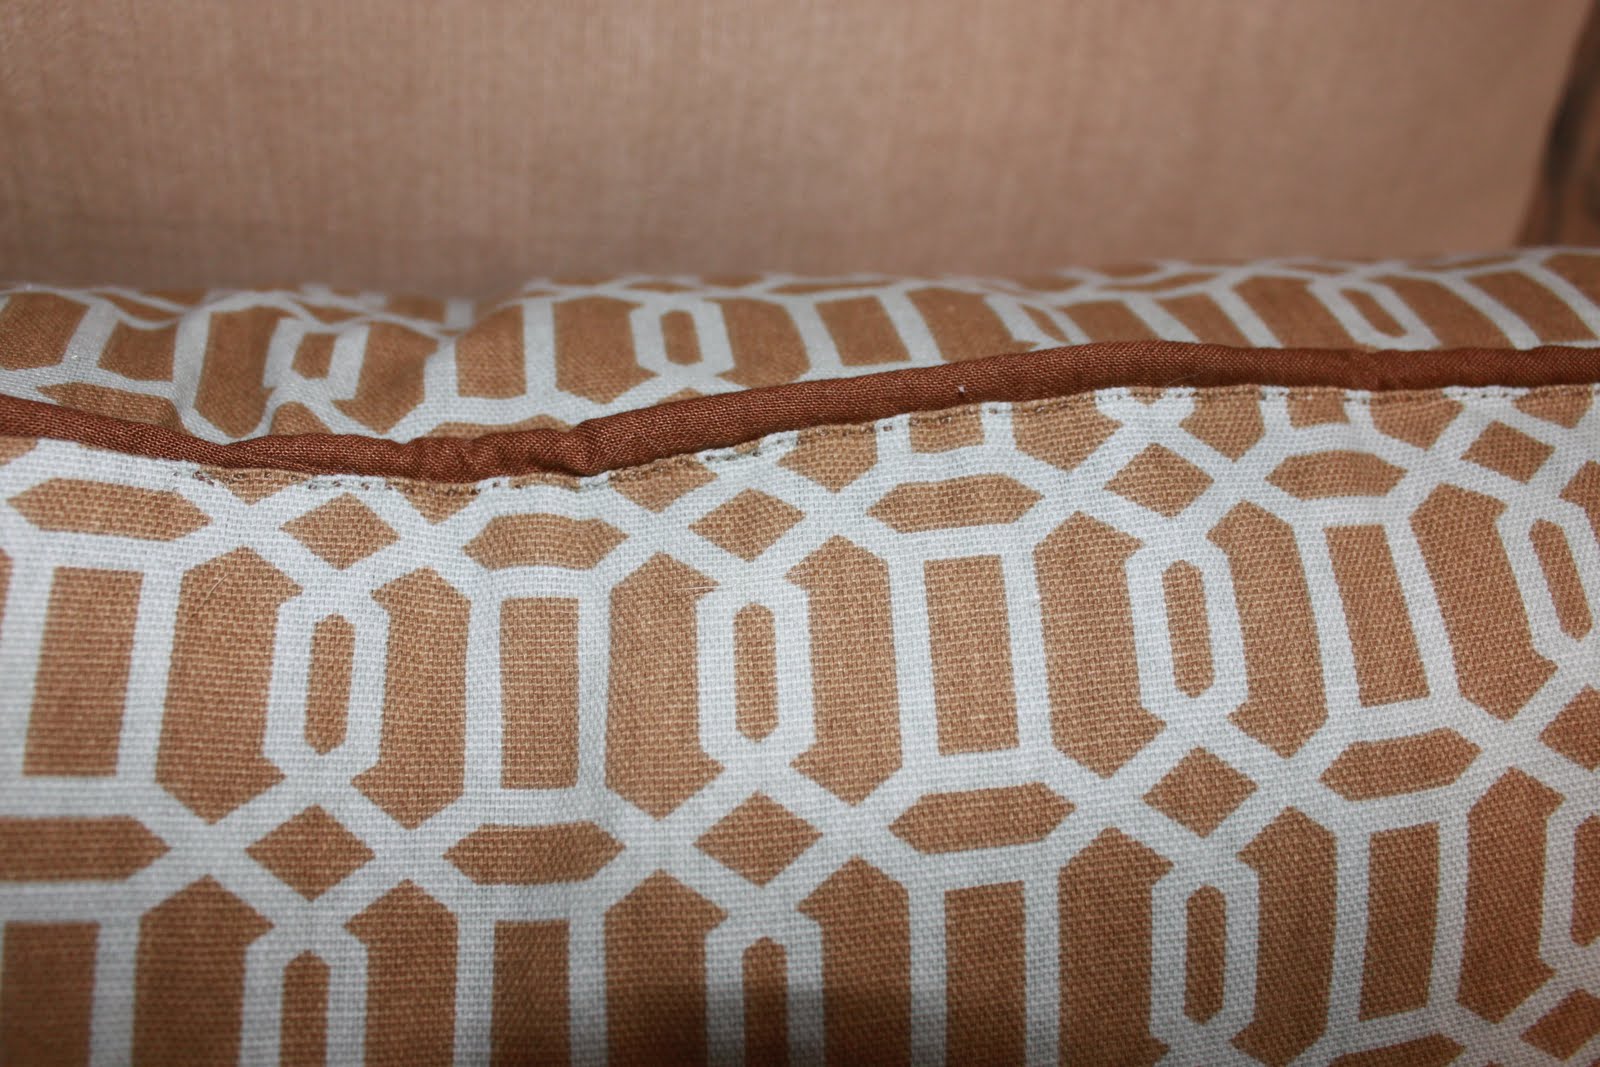
I love the look of piping on pillows. It gives a more finished look. In the spirit of renew, reuse and recycle, I decided to use the piping I just removed from the red pillow to pipe my new pillow. Typically, though, your piping would look like the white rope also pictured below.
I had selected a complimentary brown fabric to use for the piping on my new pillow. Cutting an inch and a half strips of the brown fabric, enough so that you could put the piping in the middle, fold over your strip and still leave at least a 1/4 of an inch of excess to the side of the piping. My material wasn't long enough to have one long strip of brown fabric, so I had to cut several strips in order to get the length I needed.
When your strips have been cut, place your piping inside of your material. The piping will sit in the middle. Fold your fabric in half over the piping.
Prepare your sewing machine. Move your needle to the either the farthest left or farthest right (which ever side you'll be sewing the piping from). If you have a zipper foot, it will make sewing your piping even easier. I, unfortunately, do not have a zipper foot.
I placed my fabric enclosed piping as close to the edge of the foot on my sewing machine. I initially started sewing so that my seam was as close as possible to the piping BUT the closer your stitches are to the piping the more difficult it might be {depending on your skill level} to hide the stitching when sewing your piping into your pillow. I found leaving a little wiggle room, keeping the seam close to the piping but not right up to the piping worked best.
I sewed my piping holding it here...
And guiding it here...
My strips of fabric weren't long enough to encompass the length of my piping, so I connected the strips as I sewed the piping. I folded each end under, overlapping the new fabric into the old fabric. Of course, after the fact, my mom told me that I could have sewn the strips together before I even started sewing my piping. Either way will work.
Continue sewing until your piping is completely sewn into your fabric strips.
The next step is to begin preparing your pillow itself. Using the same disassembled pillow, either the front or the back, lay it onto your fabric and use it as a guide when cutting out the new pillow.
For my new pillow, I was going to sew my pillow into the pillow case, I did not leave a back closure, so I cut both the front and back of my pillow the exact same size. Place your fabric, right sides together and begin to pin your piping in between. The piping will lay inside the pillow with the open edges lining up with the edge of the pillow.
It will go smoother if you pin it. This should prevent your piping from moving as you sew.
Your needle will remain in the same position you used to sew your piping. Continue to guide your piping as you begin to sew it into the pillow. If you left a little wiggle room with the seam on your piping, you should be able to push the piping even closer to the foot in order to make sure the new seam is even closer to the piping than the original seam.
The corners will be the most challenging. Go slow as you approach the corner and continue to go slow as you work your way around the corner. When I reached a corner, with my needle still down, I would lift the foot, turn the fabric and check to see where my piping was, adjusting it if needed.
Make sure to leave a gap un-sewn so that you can stuff your pillow. Turn your pillow right side out. Stuff your pillow insert into your new pillowcase. Then hand sew the opening of the pillow closed.
Here is where my strips of fabric overlapped, when I was sewing my piping.
I had one or two spots where, if you look close enough, the seam from my piping did not get covered by the new seam of the pillow.
One pillow done, 6 more to go...