


Last Christmas, tucked in her stocking, Grace found a Hello Kitty sleep mask. Never would have imagined that this sleep mask would become an actual necessity for sleeping. We quickly learned this, one night, when attempting our normal bedtime routine and said sleep mask could not be found. It was then, I realized, you could never have too many sleep masks.

To make your own, you'll need scrap fabric for the front and back of your sleep mask. I used Sherpa (which was REALLY hard to work with) for the front and a satin lining for the back. You shouldn't need more than 1/4 of a yard of fabric for both sides.
You'll also need some double or single bias tape, some fold over elastic and any embellishments you want to add like buttons, flowers or embroidered details.

I employed my embroidery skills and added sleepy eyes to the Sherpa. Again, the Sherpa was difficult. Embroidery stitches needed to be really thick to get the desired look. Other fabric options for the front of the sleep mask could be flannel or 100% cotton fabric.

Pin the fabric for the front of the sleep mask to the fabric for the back of the sleep mask. When pinning, make sure to pin the wrong sides together. You'll want the right sides facing out.

Cut the sleep mask out.

Below is the pattern I used. The finished sleep mask is approximately 7 inches long by 3-3 1/2 inches wide.

Pin the fold over elastic to both sides of your sleep mask. My fold over elastic was approximately 13 1/2 inches in length.

Depending on the difficulty of keeping your front and back together, you can sew around the entire sleep mask, as close to the edge as possible.
Open the bias tap and pin the bottom half to the sleep mask. From the back, sew one side of the bias tape into place. Sew along the perimeter and over the fold over elastic as well.

Now, fold the remaining half of the bias tape over the front of the sleep mask. Sewing along the perimeter.

By finishing the biased tap in the front, any errors in stitching will (hopefully) only be visible from the back.

Add embellishments (like buttons or flowers), if desired.

The only thing left to do, test it out.
Hopefully it brings its recipient a restful night's sleep.
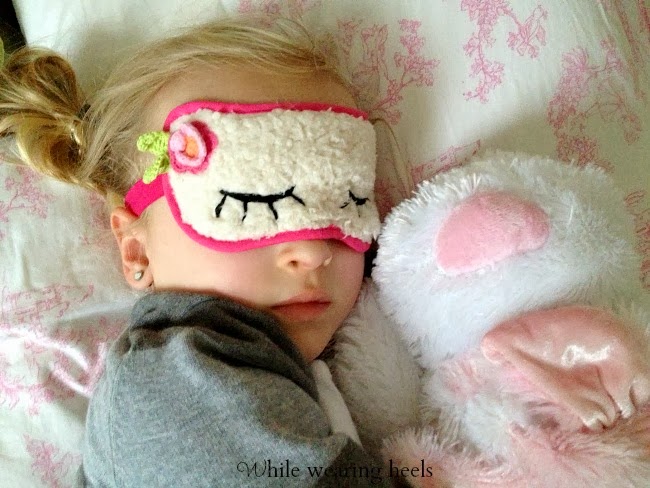
They also double as safety goggles...or at least Grace thinks so.


