Sometimes, I feel like I am always the last to know. So, when I learn something that I think is amazing, I feel the need to spread the word.
Last week, while grocery shopping at Jewel {a grocery store chain found mainly in the Midwest} Grace and I were approached about joining their Kids Club program.
Basically, for every shopping trip we make to Jewel, Grace is able to pick either a banana or a small red apple for FREE. Everyone should know by now how much I love a good deal and this, in every sense of the word, is a good deal. Makes me tolerate those unexpected trips to the grocery store a bit more.
Grace selected a banana...
I'd like to think Rachel Zoe would be proud.
Jewel can't be the only store giving back. Don't let me be the last to know...what other good deals am I missing out on?
Thursday, November 17, 2011
Wednesday, November 16, 2011
I'm dreaming of a White Christmas
I am totally smitten with Kate Spade's snow globe gift tags. How cute are they?
They are printed on 100% cotton paper and sold in a set of 9 {3 of each design} for $12. The only problem {besides that I can't justify spending $12 on 9 gift tags} is that they should be made out of something more sustainable than paper because they are so darn cute.
When I saw these, I immediately thought, I should make these out of felt.
So that's exactly what I did.
Using 2 pieces of felt for each snow globe, some googled images and needle and white thread, I embroidered my own snow globes.
I think they are just about as cute as Kate Spade's version...
The possibilities of personalizing these snow globes are endless.
You can make one for places you've visited or are dreaming of visiting.
Like Kate Spade's gift tags, these can be used as a gift tag but are also sustainable enough to then use as a Christmas ornament. I just love the thought of adding something homemade to the top of a beautifully wrapped Christmas present.
A quick and easy gift for anyone dreaming about a White Christmas this year.
They are printed on 100% cotton paper and sold in a set of 9 {3 of each design} for $12. The only problem {besides that I can't justify spending $12 on 9 gift tags} is that they should be made out of something more sustainable than paper because they are so darn cute.
When I saw these, I immediately thought, I should make these out of felt.
So that's exactly what I did.
Using 2 pieces of felt for each snow globe, some googled images and needle and white thread, I embroidered my own snow globes.
I think they are just about as cute as Kate Spade's version...
The possibilities of personalizing these snow globes are endless.
You can make one for places you've visited or are dreaming of visiting.
Like Kate Spade's gift tags, these can be used as a gift tag but are also sustainable enough to then use as a Christmas ornament. I just love the thought of adding something homemade to the top of a beautifully wrapped Christmas present.
A quick and easy gift for anyone dreaming about a White Christmas this year.
Tuesday, November 15, 2011
The Fine Art of Compromise
As anyone in a relationship knows, one of the keys to success is learning to compromise.
Sometimes, that's easier said than done. As was the case when compromising involved incorporating my husband's bachelor decor into our new house together.
Since my husband is both so charming and handsome, he won me over...
and we settled on a compromise. The masks were moved to the basement where he could appreciate them and where they didn't scare off our guests.
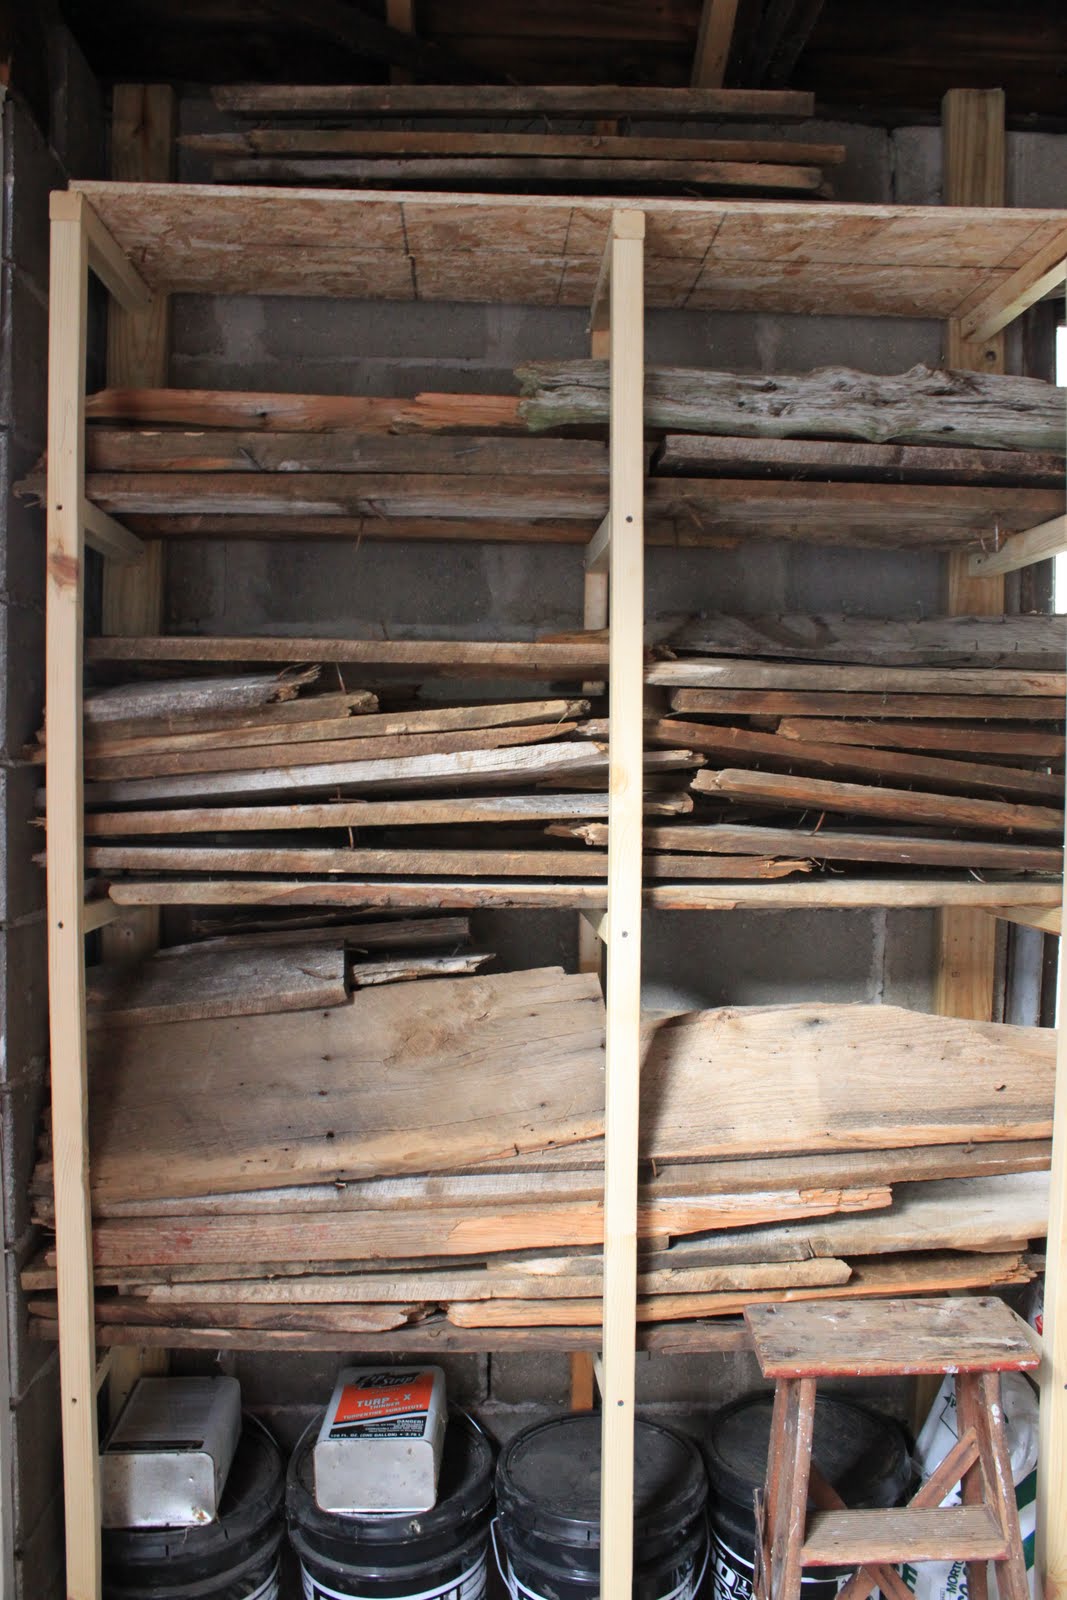
Then came *our* growing collection of barn, scrap and drift wood which involved less compromise since it's out of sight {stored in our garage}.
But, in the end, by showing some tolerance for his latest obsession, I saw his vision. He shocked and amazed me by turning those planks of old barn wood into this...
And this...
And his scrap wood into this...
When I saw how honed his skills were becoming, I enlisted him in my quest to get that crafting nook I have been dreaming about. So, he built me a crafting desk {which still needs to be painted}. Amazing, right?
The only problem, just above it...
Looks like we've come full circle.
Time to compromise again.
Sometimes, that's easier said than done. As was the case when compromising involved incorporating my husband's bachelor decor into our new house together.
Since my husband is both so charming and handsome, he won me over...
and we settled on a compromise. The masks were moved to the basement where he could appreciate them and where they didn't scare off our guests.
Then came *our* growing collection of barn, scrap and drift wood which involved less compromise since it's out of sight {stored in our garage}.
But, in the end, by showing some tolerance for his latest obsession, I saw his vision. He shocked and amazed me by turning those planks of old barn wood into this...
And this...
When I saw how honed his skills were becoming, I enlisted him in my quest to get that crafting nook I have been dreaming about. So, he built me a crafting desk {which still needs to be painted}. Amazing, right?
The only problem, just above it...
Looks like we've come full circle.
Time to compromise again.
Monday, November 14, 2011
Advent Calendar: Part 4
Hopefully you've enjoyed creating the squares for your advent calendar and are now ready to finish it up.
Decide on the background you want for your calendar. I stuck with a Christmas tree {much like the Pottery Barn for Kids version-except bigger} for my advent calendar.
Another option could be as simple as Land Of Nod's Christmas Countdown Calendar.
Or Land of Nod's Here Comes Santa Claus Calendar.
The square designs, like Land of Nod's, won't take up as much space as the Christmas tree design.
Which ever design you select, grab more felt for the background. For this, you'll want to buy felt off of a bolt. A yard of felt, from a bolt, is approximately 54 inches wide by 36 inches long. I used a double layer of felt for my design. When you get the amount of felt you think you might need, lay your squares out on top of it to determine roughly how and where they will be placed. Then using a piece of chalk draw the shape of your design out around where your squares will be placed.
Chalk works really well because it can be easily wiped off. If you don't like the design you drew, wipe the chalk off and redraw it. Don't forget, I used a double layer, so you can use the design you drew with chalk as a template for cutting out the second layer.
When you have your background cut out, you can start to attach your squares. Using only the front {or one piece} of your felt background design, with a needle and thread, attach each of square using a whip stitch. Yes...I admit, this is time consuming. I was terrified of the sewing machine when I started this project, if you are up for it, you could always sew the squares on. You'll only need to sew down 3 of the sides, leaving the top open for filling with goodies.
When all 25 of your squares are sewn into place, you can attach the front piece of your design {be it the tree or a simple square} to the back piece of your design. Again, though time consuming, I used a whip stitch to sew the front to the back. I whip stitched around the entire Christmas tree, again, you may want to make life easier and sew your design together.
If you use the Christmas tree design, when you get the bottom of the tree, you'll want to sew a trunk into the tree. I used brown felt to create the tree trunk and stuffed it with a little bit of fiberfill.
Every Christmas tree needs a star. The star was made using yellow felt, stuffed with a little bit of fiberfill. Again, using a whip stitch to sew it shut. I attached the star, with a few securing stitches, after my Christmas tree was sew together.
On the back of your advent calendar, add a loop, made of ribbon, so you can hang up your advent calendar and admire.
I used stick on embroidery numbers to number each square/pocket...
but that option can get expensive. You'll need 41 numbers to complete your calendar. If you have the patience and want to save some money, get some peel and stick felt sheets {which is under $2}. Draw the numbers needed on the felt sheets, cut them out {I warned you, this option would require patience and, of course, some cutting skills}, peel them and then stick them into place.
I hope you've been inspired to create your own advent calendar. Get the kids involved, get creative and I guarantee, every year you take your advent calendar out, it will bring a smile to your face.
The other parts to this tutorial can be found here:
Advent Calender Part 1
Advent Calender Part 2
Advent Calender Part 3
Decide on the background you want for your calendar. I stuck with a Christmas tree {much like the Pottery Barn for Kids version-except bigger} for my advent calendar.
Another option could be as simple as Land Of Nod's Christmas Countdown Calendar.
Or Land of Nod's Here Comes Santa Claus Calendar.
The square designs, like Land of Nod's, won't take up as much space as the Christmas tree design.
Which ever design you select, grab more felt for the background. For this, you'll want to buy felt off of a bolt. A yard of felt, from a bolt, is approximately 54 inches wide by 36 inches long. I used a double layer of felt for my design. When you get the amount of felt you think you might need, lay your squares out on top of it to determine roughly how and where they will be placed. Then using a piece of chalk draw the shape of your design out around where your squares will be placed.
Chalk works really well because it can be easily wiped off. If you don't like the design you drew, wipe the chalk off and redraw it. Don't forget, I used a double layer, so you can use the design you drew with chalk as a template for cutting out the second layer.
When you have your background cut out, you can start to attach your squares. Using only the front {or one piece} of your felt background design, with a needle and thread, attach each of square using a whip stitch. Yes...I admit, this is time consuming. I was terrified of the sewing machine when I started this project, if you are up for it, you could always sew the squares on. You'll only need to sew down 3 of the sides, leaving the top open for filling with goodies.
When all 25 of your squares are sewn into place, you can attach the front piece of your design {be it the tree or a simple square} to the back piece of your design. Again, though time consuming, I used a whip stitch to sew the front to the back. I whip stitched around the entire Christmas tree, again, you may want to make life easier and sew your design together.
If you use the Christmas tree design, when you get the bottom of the tree, you'll want to sew a trunk into the tree. I used brown felt to create the tree trunk and stuffed it with a little bit of fiberfill.
Every Christmas tree needs a star. The star was made using yellow felt, stuffed with a little bit of fiberfill. Again, using a whip stitch to sew it shut. I attached the star, with a few securing stitches, after my Christmas tree was sew together.
On the back of your advent calendar, add a loop, made of ribbon, so you can hang up your advent calendar and admire.
I used stick on embroidery numbers to number each square/pocket...
but that option can get expensive. You'll need 41 numbers to complete your calendar. If you have the patience and want to save some money, get some peel and stick felt sheets {which is under $2}. Draw the numbers needed on the felt sheets, cut them out {I warned you, this option would require patience and, of course, some cutting skills}, peel them and then stick them into place.
I hope you've been inspired to create your own advent calendar. Get the kids involved, get creative and I guarantee, every year you take your advent calendar out, it will bring a smile to your face.
The other parts to this tutorial can be found here:
Advent Calender Part 1
Advent Calender Part 2
Advent Calender Part 3
Friday, November 11, 2011
Advent Calendar: Part 3
Welcome to part 3 in my advent calendar tutorial. Today, you'll find the final 10 patterns to finish your calendar. Again, no sewing is required for any of these squares.
Just a reminder, my squares are 4 1/2 inches wide by 5 1/2 inches long. Copy and paste the patterns into a word document to scale to your desired size. Get your fabric glue ready and let's finish those squares.
A Christmas wreath.
Supplies: green felt, red poms, red ribbon for a bow on your wreath {square is dark blue}.
Trim a Christmas tree.
Supplies: Green felt and multi-colored mini poms {square is dark blue felt}
Decorate a gingerbread house.
Supplies: tan, white, red and light blue felt {square is dark green felt}. Use multi-colored mini poms as candy to decorate.
Not a creature was stirring, not even a mouse.
Supplies: gray, pink, black and cream felt {square is blue felt} and 2 black poms for the eyes. I wanted to embroider 'not a creature was stirring' but when I made this, I was still new to embroidering and ran out of room.
Frosty the snowman.
Supplies: white, orange and felt in whatever color you like for the scarf {square is blue felt}. 2 black mini poms for the coal eyes and 3 blue poms for the body of the snowman.
All the other reindeer...
Supplies: brown, cream, white, dark brown and black felt {square is blue felt}.
The North Pole.
Supplies: red, green, white, yellow and brown felt {square is blue felt}. I embroidered 'North Pole' on the sign.
Ho Ho Ho.
Supplies: red felt {square is dark green felt}
Santa's right hand man, an Elf.
Supplies: red, green, white, brown, black and white felt {square is tan felt} and 4 yellow mini poms for the belt, shoes and top of hat. *To make the elf's rosy cheeks: put a dab of glue on his cheeks, add some red fibers from the red felt to the glue and instantly you have a rosy cheeks.
Last but certainly not least, Saint Nick.
Supplies: red, white, peach and black felt {square is blue felt}. A white mini pom for the top of the Santa hat. *Use the technique for rosy cheeks that you used with the Elf.
Finish your squares up, peel the glue off your fingers and then come back to get some tips on putting it all together in Part 4.
The rest of the tutorials can be found here:
Advent Calender Part 1
Advent Calender Part 2
Advent Calender Part 4
Just a reminder, my squares are 4 1/2 inches wide by 5 1/2 inches long. Copy and paste the patterns into a word document to scale to your desired size. Get your fabric glue ready and let's finish those squares.
A Christmas wreath.
Trim a Christmas tree.
Supplies: Green felt and multi-colored mini poms {square is dark blue felt}
Decorate a gingerbread house.
Supplies: tan, white, red and light blue felt {square is dark green felt}. Use multi-colored mini poms as candy to decorate.
Not a creature was stirring, not even a mouse.
Supplies: gray, pink, black and cream felt {square is blue felt} and 2 black poms for the eyes. I wanted to embroider 'not a creature was stirring' but when I made this, I was still new to embroidering and ran out of room.
Frosty the snowman.
Supplies: white, orange and felt in whatever color you like for the scarf {square is blue felt}. 2 black mini poms for the coal eyes and 3 blue poms for the body of the snowman.
All the other reindeer...
The North Pole.
Ho Ho Ho.
Santa's right hand man, an Elf.
Supplies: red, green, white, brown, black and white felt {square is tan felt} and 4 yellow mini poms for the belt, shoes and top of hat. *To make the elf's rosy cheeks: put a dab of glue on his cheeks, add some red fibers from the red felt to the glue and instantly you have a rosy cheeks.
Last but certainly not least, Saint Nick.
Finish your squares up, peel the glue off your fingers and then come back to get some tips on putting it all together in Part 4.
The rest of the tutorials can be found here:
Advent Calender Part 1
Advent Calender Part 2
Advent Calender Part 4
Subscribe to:
Posts (Atom)