Showing posts with label farmers market. Show all posts

Thursday, June 26, 2014

Plant Stand Turned Farmers Market

A few weeks before Grace's garden themed birthday party, I spotted an abandoned plant stand on the side of the road.

As I skidded to a stop, I noticed a man {at the home where the abandoned plant stand lay neglected and lonely}.  Bolder than I normally would be, I asked him if he was really giving such a treasure away.

Not only did he nod his head in agreement BUT he then offered to load it into my car.


There, at home, it proudly sat.  It waited for the mister to come home and welcome it into our collection of useful things.  I waited for the mister to come home and praise my resourcefulness.


Both the plant stand and I were disappointed in the mister's reaction.  He actually said, um...I don't understand what you plan on doing with it.

IT!  He called this planters stand 'it'.

Is that what I said when he rescued this tree stump from a lake and needed to bring it home with us?


Is that what I say when I go to load groceries into the back of the car and I find these hidden beneath a blanket?


Does he not remember what happened when I came home with this $3.99 chair from Goodwill?


That plant stand was going to serve a higher purpose.


That plant stand was being invited to a little girl's garden party...


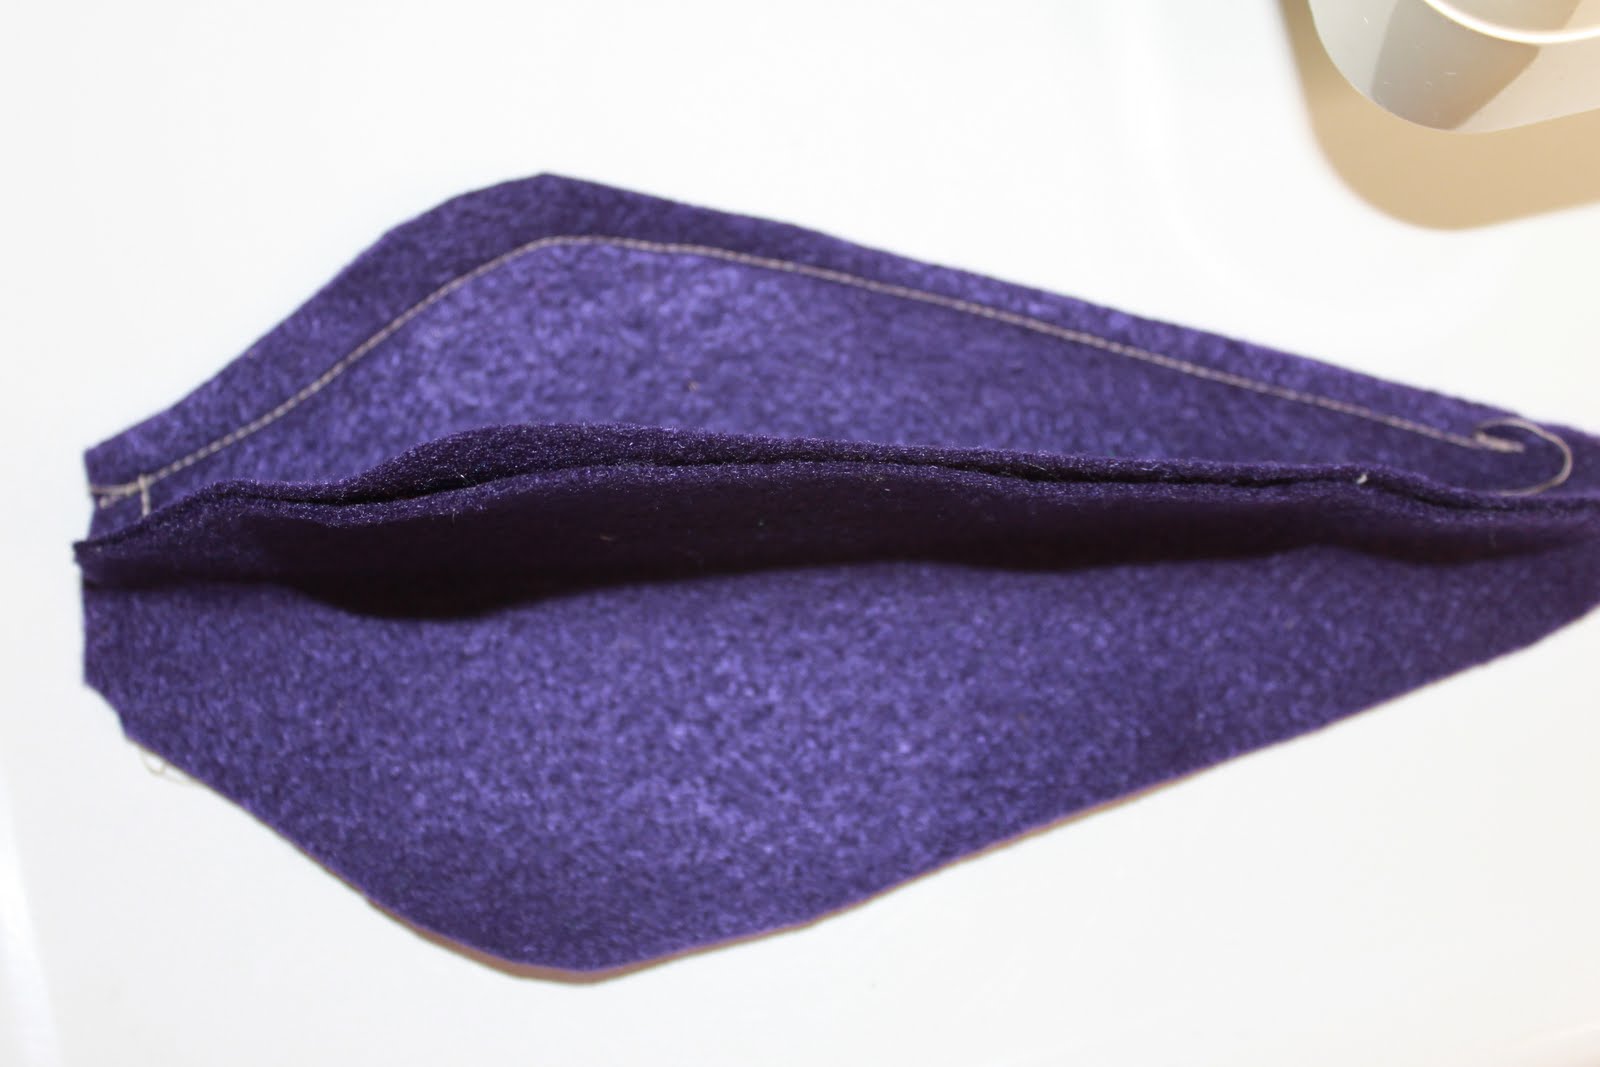
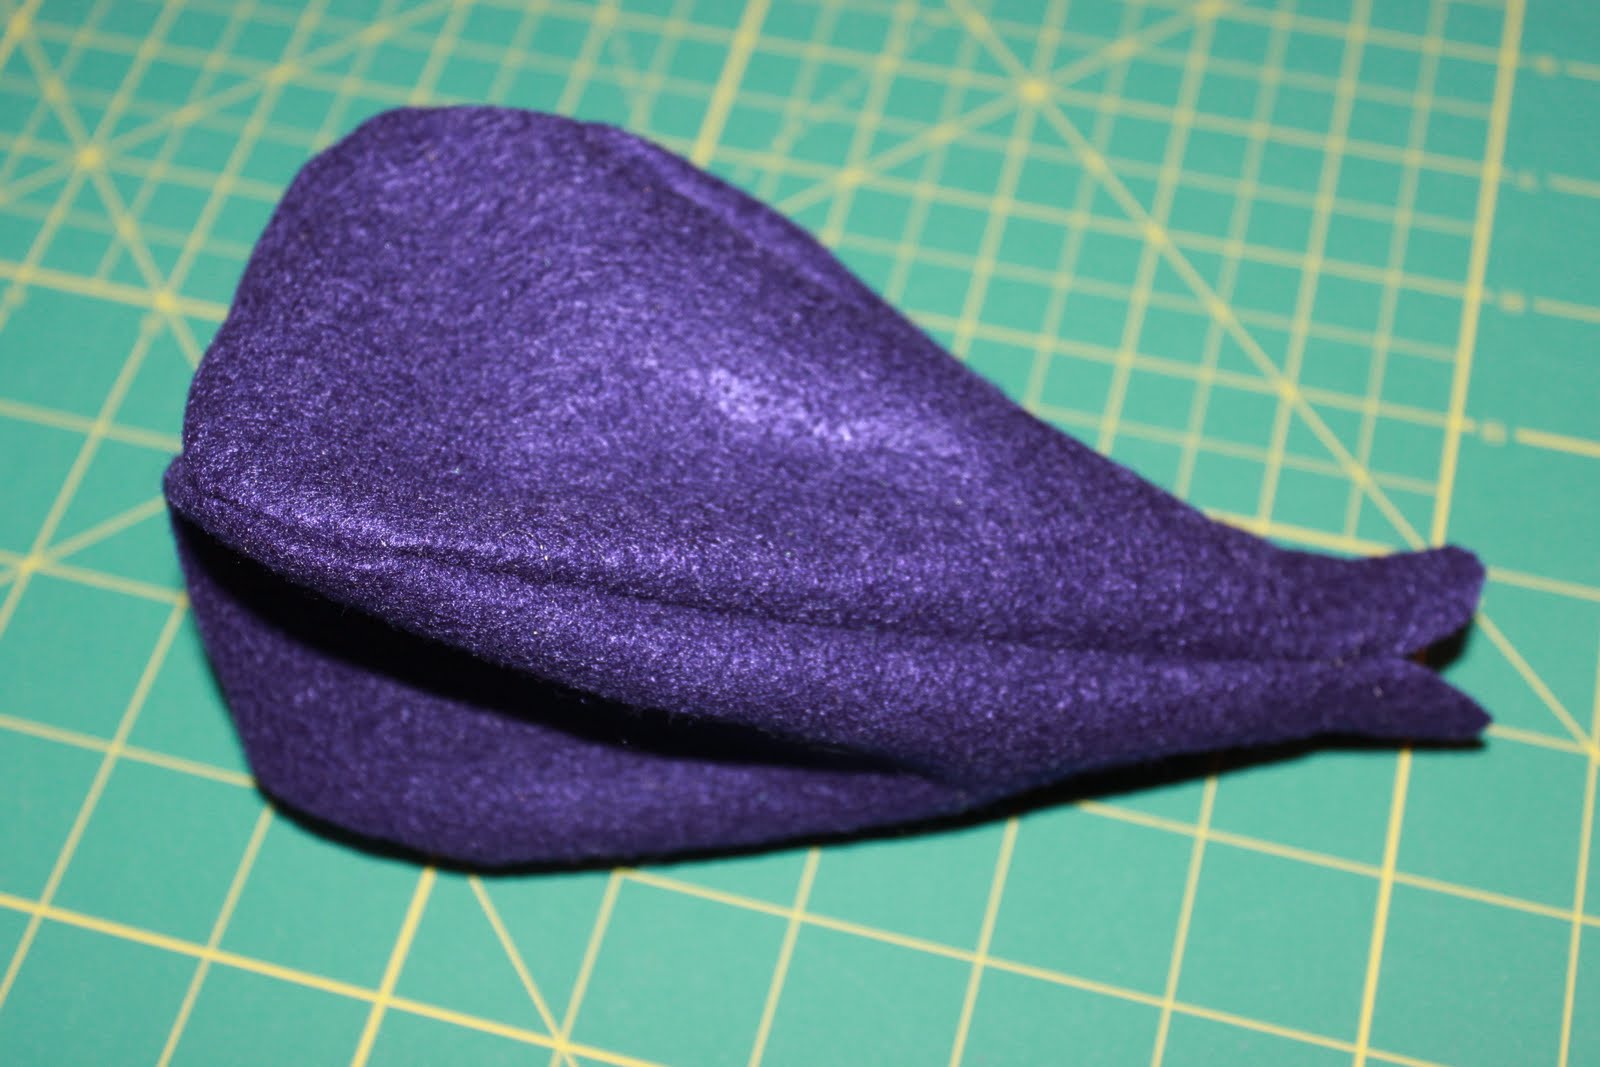
Instead of holding blossoming flowers, this plant stand was filled with garden fresh {felt} fruits and vegetables.


That plant stand transformed into a farmer's market.


A farmer's market ready for 14 little girls to use their imaginations and create memories with.


In the end, the mister realized that he was wrong.  That plant stand served a purpose, it made 14 little girls happy and 1 big girl happy {happy to be right again!}.

*All felt fruit and vegetable patterns can be found right here!

Wednesday, July 11, 2012

100 Year Old House - Grace's Room

In our modest sized house, Grace's bedroom is one of the more sizable rooms.

So, her room is a place where she sleeps.


Where she lounges and reads her books, sometimes by the light of her bug flashlight.


Where she cuddles up under her large collection of quilts, made with love by the Queen of Quilts, my mom.


And also where Grace plays.

We spend lots of time preparing meals in Grace's kitchen.  Thank goodness we don't calorie count here because doughnuts and butter are among her favorite things to prepare.


And, of course, should she run out of anything, she can always go to the market,


conveniently located just south of her bed.


And, let's not forget, she also has a new dollhouse to play with {that tour coming very soon}.


Some of my favorite things in Grace's room, besides for her quilts,


a plush crescent moon.  The first thing I bought when I found out I was pregnant. 


And these stain glassed butterflies that my father in-law made.


You'll also find some of the things I've made for her as well {her baby blanket turned monogrammed art, shadow puppets, and a Fiona Dalton bunny}.


Since I like to show how we have added to the history of our 100 year old house, this is what Grace's room looked like when we bought our house.  This room was decorated with street signs and also had one bright yellow accent wall. 


When we bought our house, we didn't have our Grace. As soon as we found out we were having a baby, we painted the room yellow. Added box moldings under a chair railing and painted that section white.


I hope our house is happy with the changes we made because this is one of my favorite rooms in our house.

But maybe that's because of who lives in this room...

Monday, April 23, 2012

I Heart Fake Food - French Bread Tutorial

In case there have been any questions...yes, I still heart fake food.


If you still heart fake food as well, go grab the following supplies:

Tan and Cream Felt
Fiber Fill
Straight pins
*both hand sewing and machine sewing required

There is no pattern. Simply cut {2} 5 inch x 15 inch pieces of tan felt {you'll need to buy felt from a bolt, the sheets of felt won't be long enough} and {1} 5 inch x 12 inch piece of cream felt.

To give your bread some dimension you'll want to cut 3 sections across {1} piece of tan felt.  I used a water soluble pen to act as a guide for where I wanted to make my cuts.  When your 3 sections have been cut out,  pin the cream felt to the back of the tan felt.  Then either hand sew or machine sew around the cutouts.  I opted to hand sew.


Pin the side with the cutouts to the remaining piece of tan felt.  Sew around the French bread, leaving a 2 inch opening on one of the ends.  Turn the French bread right side out and stuff with fiberfill.  Using a whip stitch, sew the opening closed.


And there you have it, gluten free, carb free French bread.


If you are curious how Grace's farmers market looks, filled with all the 'I heart fake foods' I've made, come back tomorrow and check it out.

Until then, make your way through the rest of the I heart fake food tutorials here.


Friday, October 14, 2011

I Heart Fake Food - Felt Eggplant Tutorial


Supplies needed:
Dark purple and Green Felt
Fiberfill
Green thread and needle
Fabric glue
Pattern below {which can also be downloaded here}


Using the eggplant pattern, cut out all felt pieces.


First, arrange 2 sections of the eggplant body together. Sew one side closed. Only sew half of the bottom of the eggplant closed. With each section, you'll continue to sew half of the bottom, until the entire bottom is fully closed shut. Leave 1/4 of an inch, at the top, unsewn. You will eventually turn your eggplant right side out through the top of the eggplant.


The first sewn side should look like this.


Next, line the 3rd section of eggplant body up along the open side of the 2 sewed pieces.


Sew from the top down on only one side, again, remembering to leave 1/4 of an inch unsewn at the top.


Arrange the final piece of the eggplant body, lining it up to meet the 2 remaining unsewn sides.


Sew down one side and then down the final side.


When all 4 sides are sewn together, there should only be an opening at the top of the eggplant.


Turn the eggplant right side out.


Generously stuff with fiberfill.


Using your needle and green thread {if you prefer, you could use purple thread} sew the top shut. No need to worry about sewing it shut perfectly, this will be covered with the eggplant topper.


Pinch the center of the topper. This will give you an idea of where and how you'll start to develop the stem of the topper. Pull the needle and thread, used to close up the eggplant top, through to where you pinched the top.


Continue pinching and tightly sewing the center of the topper to form a knob shape. As you are creating the stem, you will also want to add a few stitches to secure it to the top of the eggplant body.


Continue sewing and creating the stem until you get something similar to this...


Fold in the corner of the leaves on the topper.


Pinch the corners closed with your fingers.


Sew the pinched corners closed, grabbing some of the eggplant body as you sew. *Repeat for the other 2 corners.


Create a pucker in the top of the leaf. Using your needle and thread, come up from the eggplant body, through the leaf and then back across and through the body to the other side of the leaf, pulling the thread taunt creating a puckering effect. *Repeat for 2 remaining leaves.


Create a similar but smaller pucker at the bottom of the leaf. This not only creates a pucker but also attaches the leaf to the body of the eggplant. *Repeat for 2 remaining leaves.


Grab some glue, the green button bottom and your eggplant.


Center the green button on the bottom of the eggplant, securing it with a dab of glue.


Turn it back over and admire...you are done!


As Buddy The Elf would say, 'that's a very nice eggplant, it's very purply'.


Make sure to check out my other felt food tutorials as well.

Linked up and a big thanks to:
Felt Food Roundup
 
Related Posts Plugin for WordPress, Blogger...