Corn on the cob anyone?

Supplies:
Yellow, Green and Cream felt
Fiberfill
Yellow thread
Green thread
Some sewing required
To make the kernels of corn:
Out of yellow felt cut 7-10, 1 1/2 inches wide by 6 1/2 inches long, strips.

Create a crease down the center of the yellow felt {lengthwise}, fold each side in towards the crease and then fold in half.

Can you see it? It's starting to look like a corn kernel.

With your needle and yellow thread, start to create each individual kernel down the row. Loop the thread around the rolled up yellow felt, pull it tightly so it creates a groove {these are your kernels taking shape}.

At the bottom of each loop, sew 2 stitches simply going back and forth to secure and maintain the groove you just created.

Continue creating the kernels down the length of the strip.

Each strand, when finished, should look something like this.

Repeat these steps, making the rest of your kernels, for rest of the strips you have cut out.
To make your corn husk:

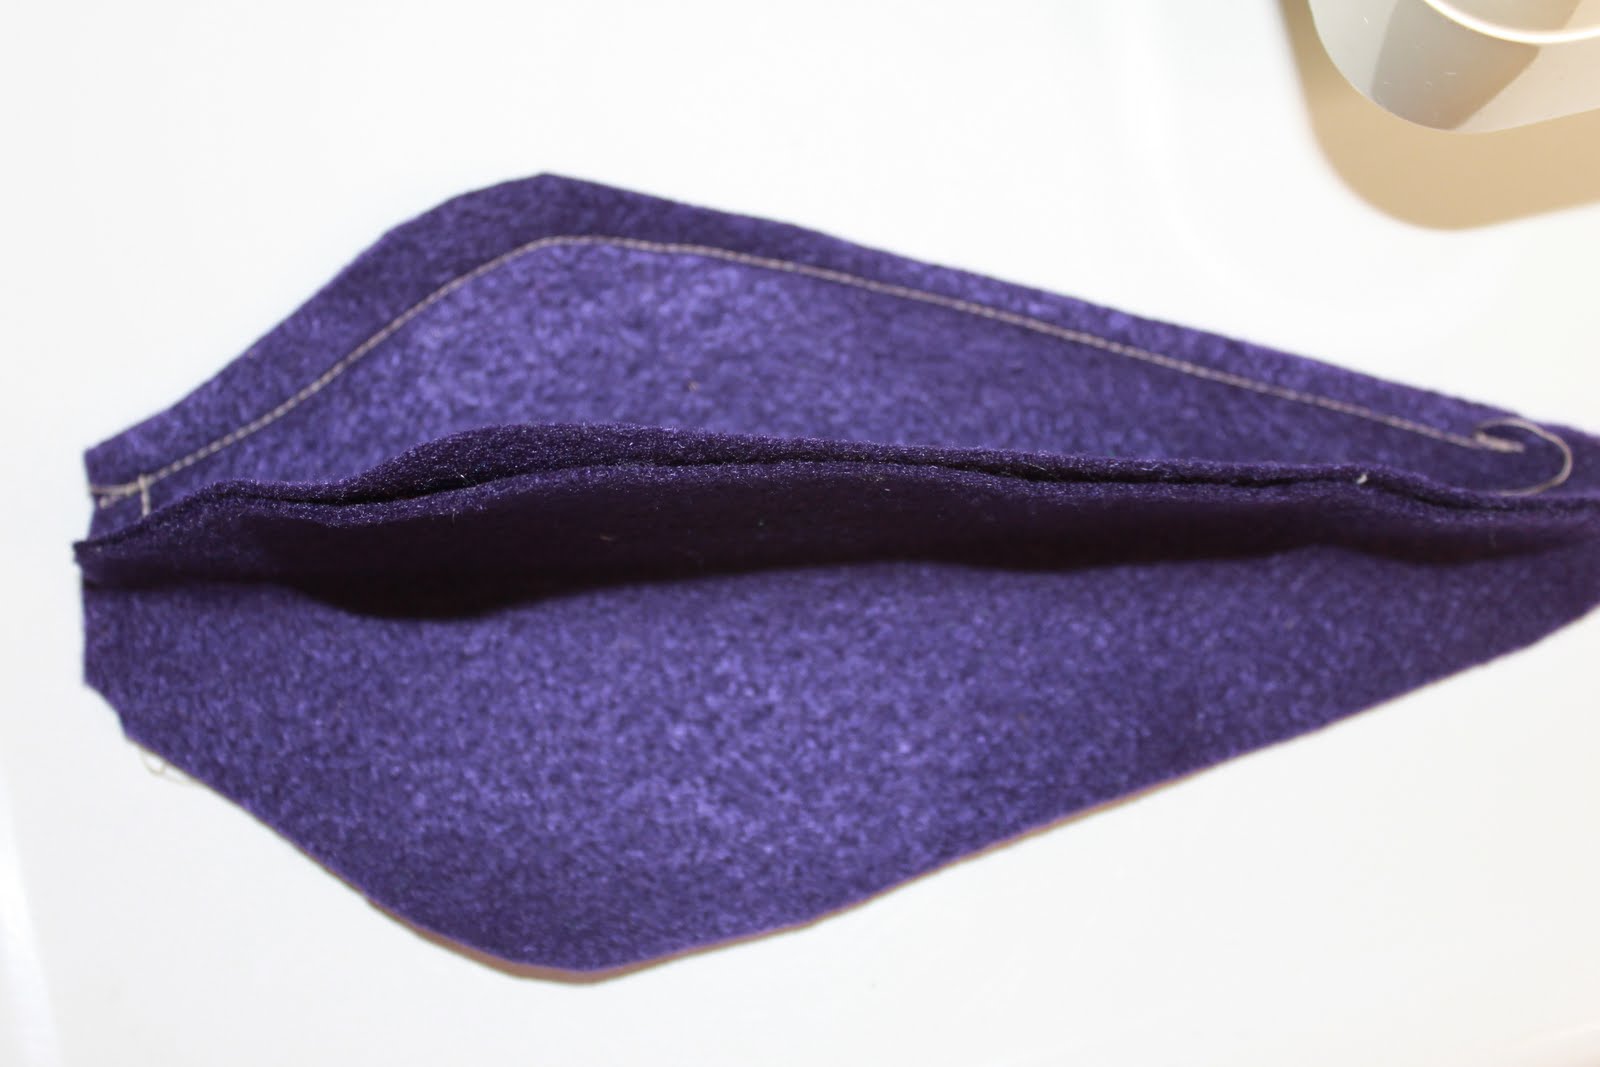
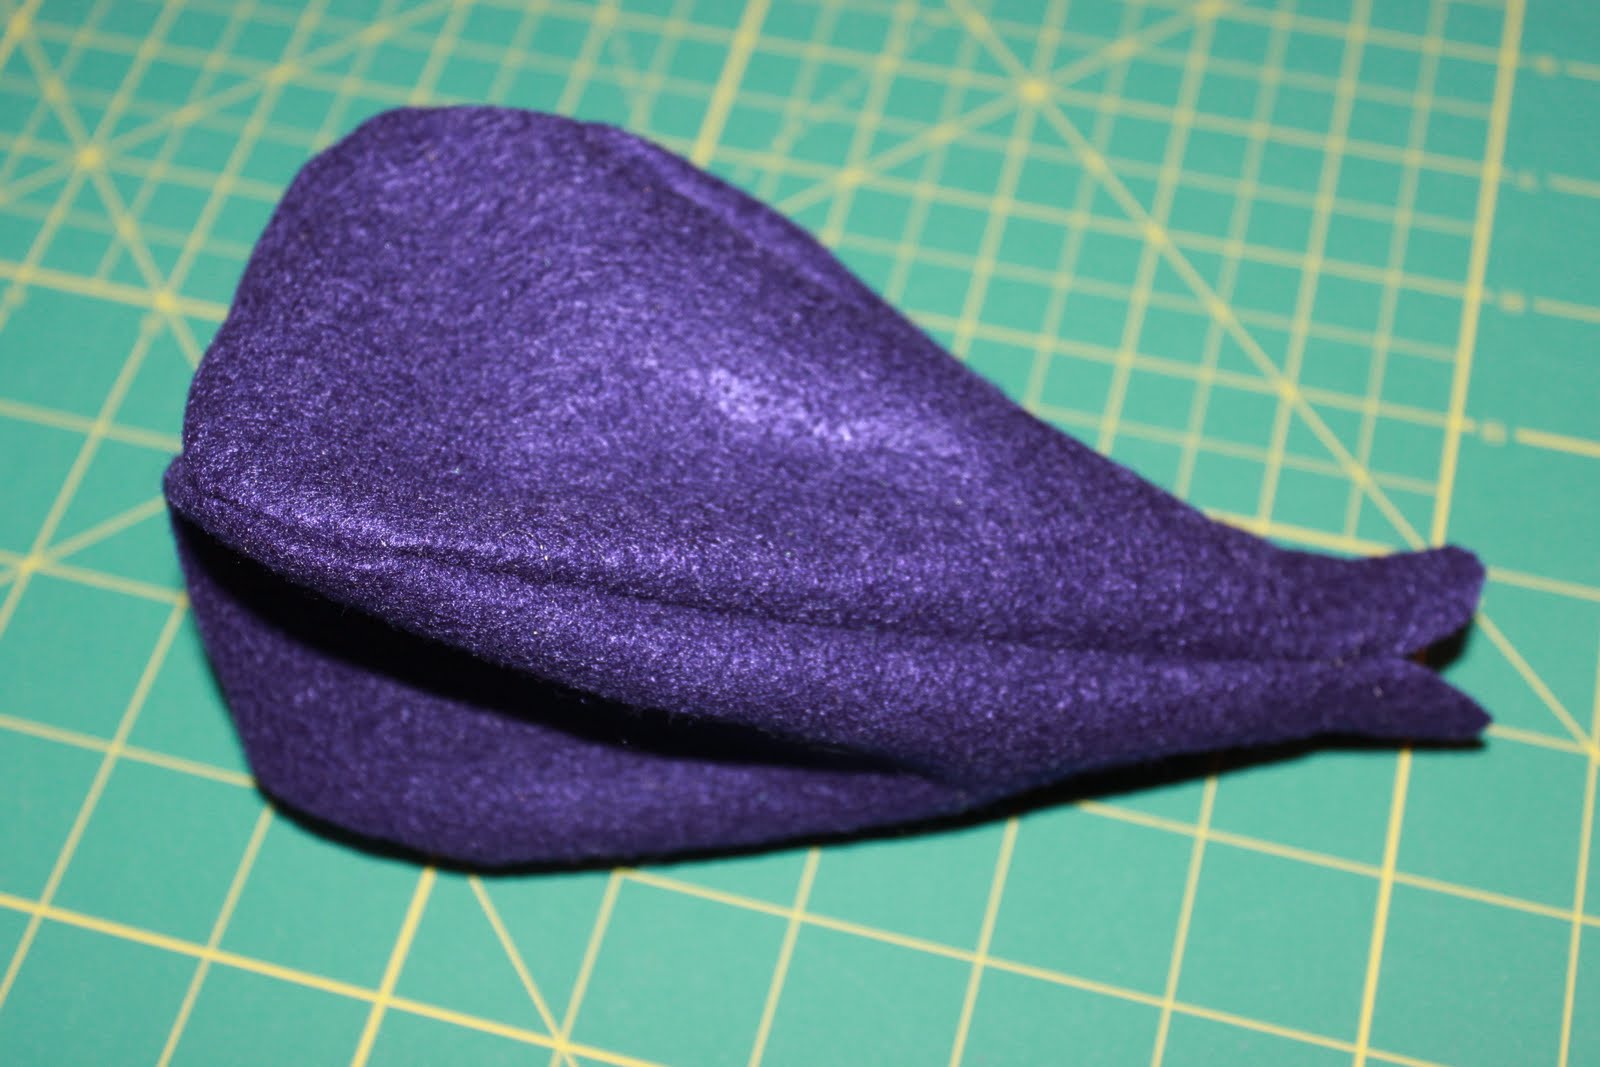
Cut out a total of 6 green leaves. Arrange 2 pieces of green felt together at a time.

To add the lines and give some dimension to your husk, you'll want to use your sewing machine. Starting in the center of the husk, sew the first line. This line will help you space the remaining lines. Continue, working from the center line out. You do not need lock in your stitches.

When you complete a husk, if you find some gaps between the lines, just go back and add a filler line or two.

Repeat these steps to finish the 2 remaining husks.

Optional: sew the bottom edge of your husk over to give it a more finished look.

To create the corn cob:
To give your corn its shape and provide a base to attach your kernels, you'll want to sew a cob.

Arrange the 2 pieces of cream cob together {mine will appear larger than the pattern , after I made my cob, I realized it was too wide so I corrected the pattern making it more narrow}.

Sew down each of the sides but do not close either end {you will want to lock in your stitches}.

Turn the cob right side out.
With a rectangle piece of cream felt {1 inch by 2 1/2 inches}, fold it in half and roll it up.

Insert it into one of the open ends of the cob {for a more finished look, fold the edge of the cob in before adding the rolled insert}.

With a needle and thread, sew the roll into place, closing up that end of the cob.

Fill the open end of the body with fiberfill. Unlike 'I heart fake food' tutorials of the past, you do not need to generously stuff the body. You want it to have some give. The kernels will provide most of the shape.

To close up the remaining open end, you'll create a stem. Using a rectangle strip of green felt {2 1/2 inches by 3 inches}, fold it in half and roll it up {like you did for the cream top}.

Insert it into the open end of the cob and sew it shut.

Putting all your pieces together:
Sew one husk to the back of the corn cob, securing it only at the base of the cob. You'll secure it more once you have all your kernels in place.

Affix the longest strip of kernels to the center of the corn cob. The top of the cob will be your starting point for each strand of kernels you add. Attach the kernels by sewing the bottom of the kernel to the cob.

Continue adding securing stitches as you work your way down to the bottom of the corn cob for each strip of kernels.

Hold the remain 2 corn husks around the cob to determine placement of each new strand of kernels.

Your husks will cover some of the cob so to save yourself work, don't waste kernel placement where they won't be seen.

Continue attaching your kernels. With each new row, you'll need to attach it not only to the row of kernels next to it but also to the cob body.
*Remember to always add you next row of kernels starting from the top so you can manipulate a shape like this when completed.

Here you can see how rough my kernel placement looks. The cob remains bare in several places.

I bent a few of my kernel strips in half for the shorter rows and for some, I cut my strands in half or quarters. The back of my cob is nearly all bare with the exception of the top.

When you have all your strands sewed into place AND are happy with the shape the top of your corn has taken, grab your remaining 2 husks and begin to sew them in place so they cover any bare spots of the cob.

Place a few securing stitches at the bottom front of the cob and bottom back of the cob.

Then, add securing stitches to attach the husk to any bare spots in the cob. Continue to add securing stitches anywhere you want to give your husk more structure or where you want to maintain their placement.

And there you have it...

So what do you think, cool or corny?

If you enjoyed this tutorial, make sure to check out my other felt food tutorials as well.