Showing posts with label decorating. Show all posts

Wednesday, September 17, 2014

Something old

Something old, something new, something borrowed and something blue.  Yes, this is a well known wedding tradition BUT why can't it be used as a decorating theme as well.


Something old. 


In my situation, finding something old requires a trip to the garage or shed.


And, sometimes, that during that trip to the garage or the shed I spy something remarkable.  


Something that *should* go on top of any number of pillars we appear to be collecting.


Although, in this situation, that something old...


becomes something new.


Instead of a cap to a vintage pillar, it becomes transformed into *something new* that I subsequently have decided to *borrow*.


Into my house that something old, something new something borrowed has gone.  Onto my kitchen island it sits in it's new life as a decorative pedestal; a holder of flowers, sweets or treats.


Now you are probably wondering what the something blue is, right?

Well, the something blue is this guy when he realizes the something borrowed is really not something borrowed at all since I have no intentions of ever giving it back.


And, that's how you decorate with something old, something new, something borrowed and something blue.

Wednesday, December 11, 2013

Christmas Dollhouse

The Lalaloopsies and other dollhouse inhabitants have been busy decorating for the holidays.


Pom pom wreathes were hung with care.


Those Lalaloopsies are resourceful, creating their wreathes out of card stock, pom poms and tacky glue.  


Silver garland was hung.


A pipe cleaner tree was decorated using assorted colored small pom poms.


This little house, also has a visitor...


A snowman, created by the talented woodaholic.


A few bottle brush trees wait for presents to be tucked under.


Though I love all the details transforming Grace's dollhouse into a Christmas dollhouse...


I worry that those lazy Lalaloopsies are going to be those neighbors that leave their holiday decorations up well into spring.


There's nothing worse than looking at Christmas decorations in April.

Thursday, April 11, 2013

Frame Personalized Postcard Souvenirs

 First run on Bonbon Break.

Whether your summer travel plans involve a trip across country or a night out in the city, be sure to buy a stack of postcards.


And, while you fill out postcards to your family and friends, why not write one to yourself as well.  Write out the highlights from your trip, the things that made you laugh.  Include the moments you want to capture and remember.

Put a stamp on your postcard and drop it in the mail.  Until we meet again.  Bon voyage little postcard.


Your 'back to normal life' self {the one suffering from post vacation blues}, will appreciate getting something in the mail other than the bills from your latest adventure.

That's exactly what I did when I was on my honeymoon with my husband 6 years ago.  Our postcard included some highlights and some misadventures but more so a sense of who we were while on our honeymoon.  This postcard brings back happy memories.  Memories which may have otherwise faded over time. 


Then, instead of tucking your postcard away in a photo album or a box, proudly display it.  Frame your handwritten postcard alone OR include the front side of another postcard from your vacation or use a favorite picture from your trip.


Those memories, the ones that may have faded, are now preserved and showcased.  The trip or adventure may be over but that doesn't mean the memories have to be as well.

*For those curious and or with bad eyes, the honeymoon postcard read:

The adventure of a lifetime.  The breathtaking views.  Staying in an over water bungalow in Moorea.  The barn with twin beds, barking dogs and roosters in Bora Bora.  Swimming with sharks and stingrays.  An off road trip, in a jeep, leading to a picture perfect view.  Our final night in an upgraded bungalow.  The only thing better....spending it as husband and wife.  The adventure is only just beginning.


Link Party Websites


{T} *From Dream to Reality Link Party ** Thursday Linky Party at Osie Moats * A to Zebra Celebrations Link Party Tuesdays* Be Inspired by Elizabeth and Co.   * Tutorials and Tips on Home Stories A 2 Z   * I gotta try that   * Off The Hook Link Party  * Delicate Construction * The Winthrop Chronicles  * Open Call Tuesdays on Salt Tree * Adventures of a DIY MOM * Take a look Tuesday at Sugar Bee Crafts * Blackberry Vine Tuesday To Do Party Coastal Charm * My Uncommon Slice Of Suburbia  * Tip Junkie   

{W}*Riverton Housewives Round Up *In Bloom Link Party *Adorned from Above * All Star Blogging Party *Well Crafted Wednesdays *What I Whipped Up Wednesdays * Homemade by You Wednesday * Whimsy Wednesdays  * Blue Cricket Design  * The Fun In Functional * What I learned Wednesday *   Home Happy Home * Someday crafts 

{TH} Delightful OrderA Glimpse Inside  *  The Crafty Blogstalker * Made In a Day A Little Knick Knack * House of Hepworth's  * 52 Mantels *
 

Tuesday, October 4, 2011

Happy Halloween

Oh wait...it's not Halloween BUT it is October so let the decorating for Halloween commence.

I've only just begun my decorating. Before visions of haunted houses, ghosts and graveyards enter your head, I like simple touches.

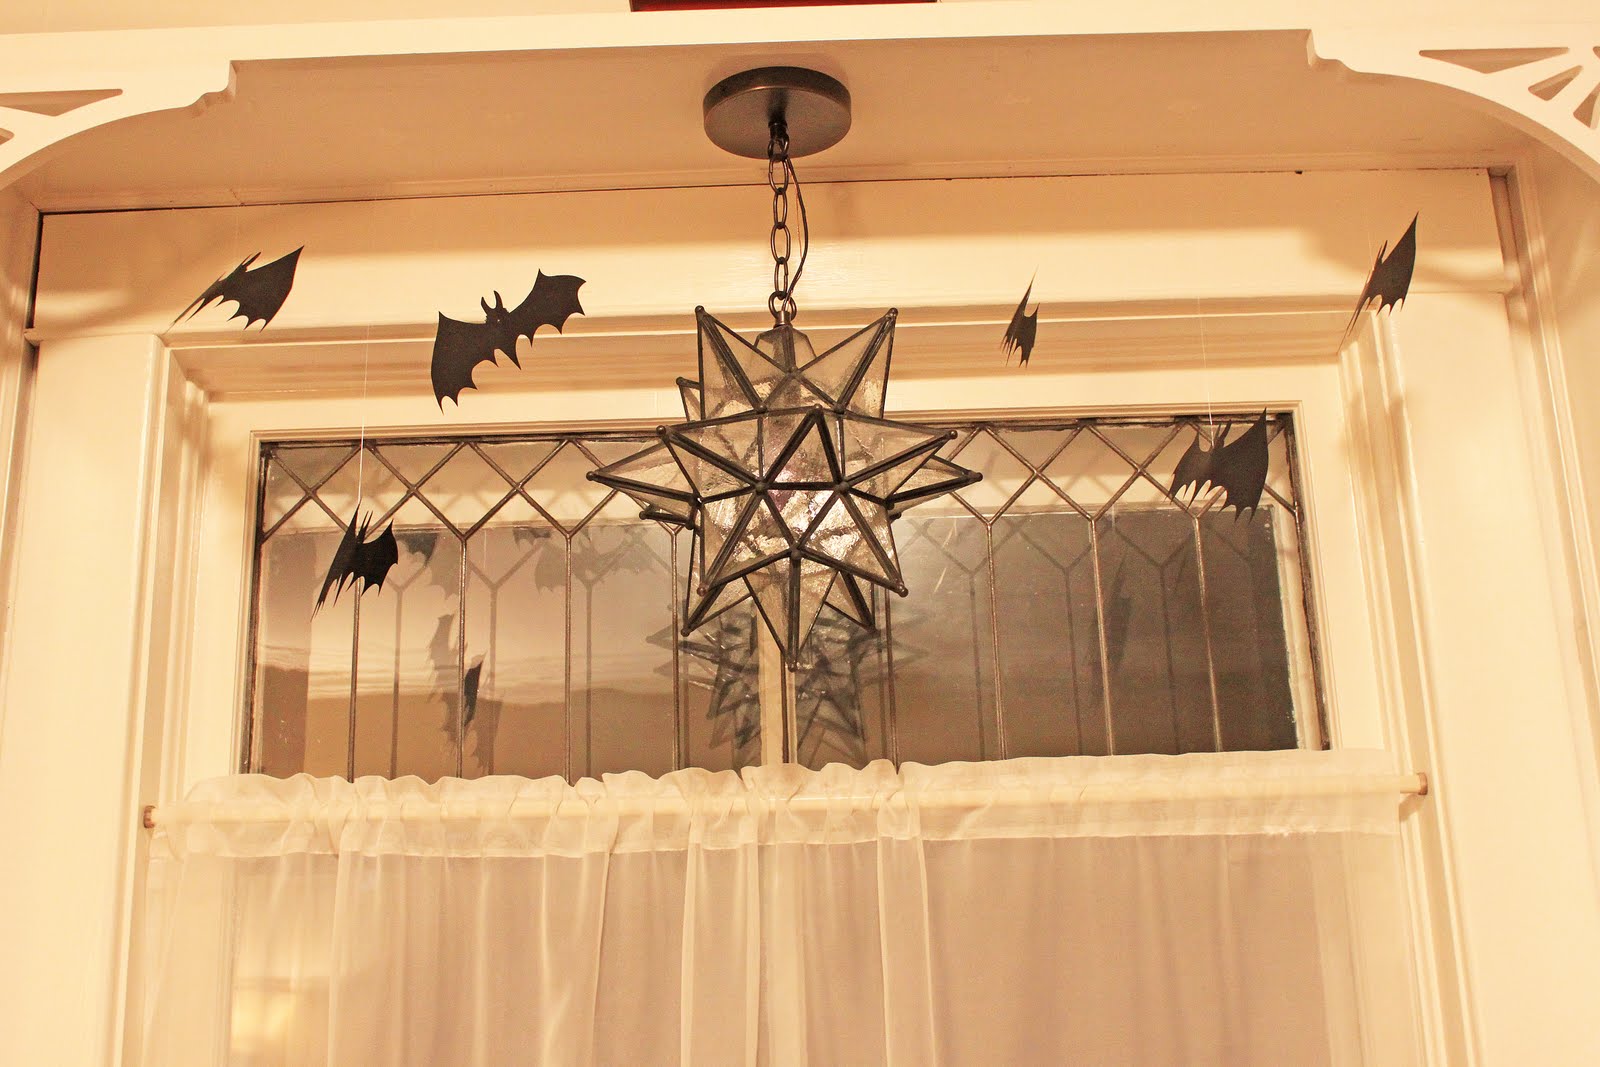
I love Martha Stewart's Halloween silhouette templates. These bats, hung from fishing line, like flying around my window.


Grace would love for us to get her a cat but since we already have a dog, this Martha Stewart black cat is as close as she will get.


These Martha Stewart mice are the only kind of mice I want anywhere near my house.


Blue Cricket Design gets all credit for the clever no soliciting sign in my doorway.

And so you don't think that I've decorated exclusively using black paper I do have other decorations up as well. The Queen of Quilts made that throw and sitting on top of it a velvet pumpkin.


In the spirit of preparing for Halloween, we've also watched, It's The Great Pumpkin, Charlie Brown, about 10 times and it's only the first week of October.


Halloween and fall are definitely in the air, so keep in my mind Linus' sage advice, 'Never jump into a pile of leaves with a wet sucker'.

Happy Decorating!

Thursday, September 22, 2011

Freezer Stenciling Tutorial

Three more pillows done. Cream pillows with brown trim {again, I used the concept from the pillow and piping tutorial, this time, I used a back pocket so that the pillows could be removed from the case}. I love them but lets be honest, they are way too plain.


These, however, make quite a statement.


Can you believe, those pillows were transformed using fabric paint and freezer paper? Interested in learning how, keep reading.

Supplies:
Freezer paper
Fabric paint (I bought mine at Joann's for under $2 a bottle, there are a wide variety of colors)
Sponge (there are specific sponges you can buy but I like to save money so I used a sponge I already had, cutting a section off to make it easier to use)
Fabric you want to paint along with a smaller test piece of fabric
Scissors and or X-acto knife
An Iron
A Design (you can print anything and use that for your pattern)

Decide on your design, I printed out an ampersand {font: Baskerville Old size: 600}. Cut your design out of paper and use it as a pattern. Trace your design onto freezer paper. Trace on the paper side, not the shiny side.


Now that the design is drawn out on freezer paper, begin to cut it out. The first time I tried using freezer paper, I didn't realize what I needed to keep, for me, it was the opposite of what I initially thought. You'll want to get rid of the design and keep the white space around it or in it. So, it doesn't matter how you cut the design out BUT it does matter how you cut the lines where your design meets the white space.


Here is what my design looks like cut out.


Grab your fabric, in this case, I used a pillowcase {remove your pillow, before painting}. Fold the pillowcase or fabric in half, pressing down to create a crease, to determine the middle.


Using your crease as a guide, determine placement of your design. Make sure to place the shiny side of the design down and the paper side up.


Using an iron, set to cotton (depending on your fabric, you may need to select another setting), I ironed my design onto the fabric. I started by only ironing down the outside of the design.


Using my paper pattern as a guide, I determine placement of the inside pieces of my freezer paper.


Next iron those pieces onto the fabric {remove your paper design before you iron down the freezer paper}.


Grab your sponge, paint and a piece of cardboard to squirt some of the fabric paint onto. If you have a test piece of fabric, test how the paint will adhere before continuing. Before you begin, you may want to put a towel behind your fabric, in case the paint seeps through.


Dab your sponge into the paint, you don't want a lot of excess paint on your sponge. Start dabbing the paint onto the fabric exposed through your design, work from the edge of the freezer paper into the design. By dabbing into the design, this should help you keep your edges crisper. If you work from the inside of your design out, you may run the risk of pushing some of excess paint under or into the edge of your freezer paper design.


Continue dabbing your paint on all fabric exposed from your design.


When the fabric paint has completely dried, slowly start to peel up the freezer paper.


what you are left with is your design...


& I love it.


I loved it so much, I made 2 more. I used the same concept as described above. In steps, I painted a large circle {I used a large serving platter as a template to trace onto the freezer paper}. When the outer circle was dried, I painted the smaller circle {I used a smaller serving platter as the template}. Finally, I painted the letters in the middle.


I am not sure I'll ever use freezer paper for its intended purpose again.


The only problem, this is Riley's sofa. I worry that most of the time, my pillows will end up looking like this...

Related Posts Plugin for WordPress, Blogger...